Install your Halo eSIM on iPhone using the QR code from your order confirmation email. The process takes about 2 minutes.
What you need
- iPhone XS or later. The minimum iOS version is set by the model, not by Halo: the iPhone XS, XS Max, and XR need iOS 12.1. Our compatibility checker shows the exact minimum for your model
- iOS 17.4 or later if you want to install in one tap from the link we send you. On earlier versions, scan the QR code as below
- A Wi-Fi or mobile data connection (required to download the eSIM profile)
- Your Halo eSIM (from your order confirmation email or the purchase success page)
Steps
- Open Settings on your iPhone.
- Tap Mobile Service (Mobile Data on older iOS).
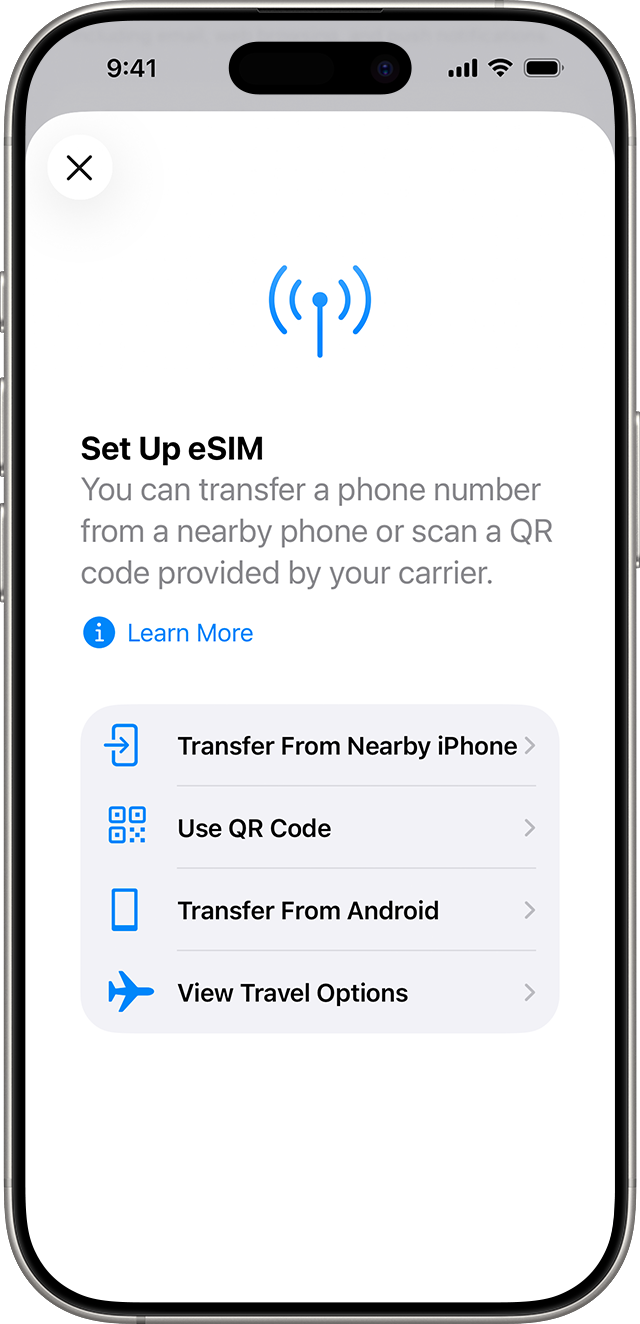
- Tap Add eSIM.
- Tap Use QR Code.
- Point your camera at the Halo QR code.
- When the carrier plan appears, tap Continue.
- Wait for the profile to download. This takes 30 seconds to 2 minutes.
- When prompted, tap Done.
After installation, your new eSIM line appears under Mobile Service (Mobile Data on older iOS) in Settings. You should see a signal indicator in the status bar once you arrive at your destination and enable the line.
Choose your data line
If you already have a primary SIM or eSIM, your iPhone will ask how to use the new line.
- When prompted to label your new plan, choose Travel or a name you will recognise.
- Set your primary line as the Default Voice Line (for calls and texts).
- Set the Halo eSIM as the line for Mobile Data.
- Turn off Allow Mobile Data Switching. This prevents your iPhone from using your primary line for data and incurring roaming charges.
Activate before you travel
Install your Halo eSIM while you still have a stable internet connection, ideally the day before your trip. The eSIM will activate automatically when you arrive at your destination and connect to a supported network.
If your eSIM shows “No Service” after arriving, see What do I do if my eSIM isn’t connecting?.