Install your Halo eSIM on your Google Pixel using the QR code from your order confirmation email. The process takes about 2 minutes.
What you need
- Google Pixel 3 or later. On the Pixel 3 and Pixel 3 XL, eSIM support is limited to specific carriers in some regions
- The minimum Android version is set by the model, not by Halo: the Pixel 3, 3 XL, 3a, and 3a XL need Android 9. Our compatibility checker shows the exact minimum for your model
- A Wi-Fi or mobile data connection (required to download the eSIM profile)
- Your Halo eSIM (from your order confirmation email or the purchase success page)
Steps
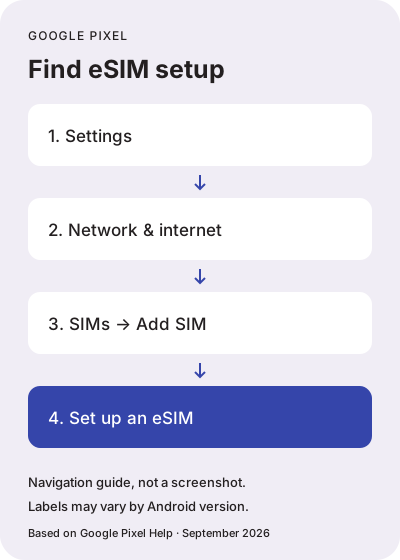
- Open Settings on your Pixel.
- Tap Network and internet.
- Tap SIMs.
- Tap the + button or Add (depending on your Android version).
- When prompted, tap Don’t have a SIM card?
- Tap Next, then point your camera at the Halo QR code.
- When the carrier plan details appear, tap Confirm.
- Wait for the profile to download. This takes 30 seconds to 2 minutes.
- Tap Done when the installation completes.
After installation, your new eSIM appears under SIMs in Network and internet settings.
Set your data line
After installing the Halo eSIM, configure it as your mobile data line.
- Open Settings > Network and internet > SIMs.
- Tap on your Halo eSIM.
- Toggle Mobile data on.
- Go back to SIMs and tap your primary SIM.
- Toggle Mobile data off for your primary SIM to prevent roaming charges.
Activate before you travel
Install your Halo eSIM while you still have a stable internet connection, ideally the day before your trip. The eSIM will activate automatically when you arrive at your destination and connect to a supported network.
If your eSIM shows “No Service” after arriving, see If your Halo eSIM isn’t connecting.